Warning
Nous commençons tout juste à traduire la documentation pour cette langue, désolé !
Nous affichons des pages traduites partiellement afin de suivre l’avancement.
Cette page n’est pas encore traduite. Mais la bonne nouvelle est que vous pouvez rejoindre la communauté de traduction pour nous aider 👋.
Zapier integration#
Who is this page for?#
- If you are connecting Zapier to Grist on getgrist.com, connect Zapier to Grist in one click, starting on Zapier side. Or read our step-by-step example.
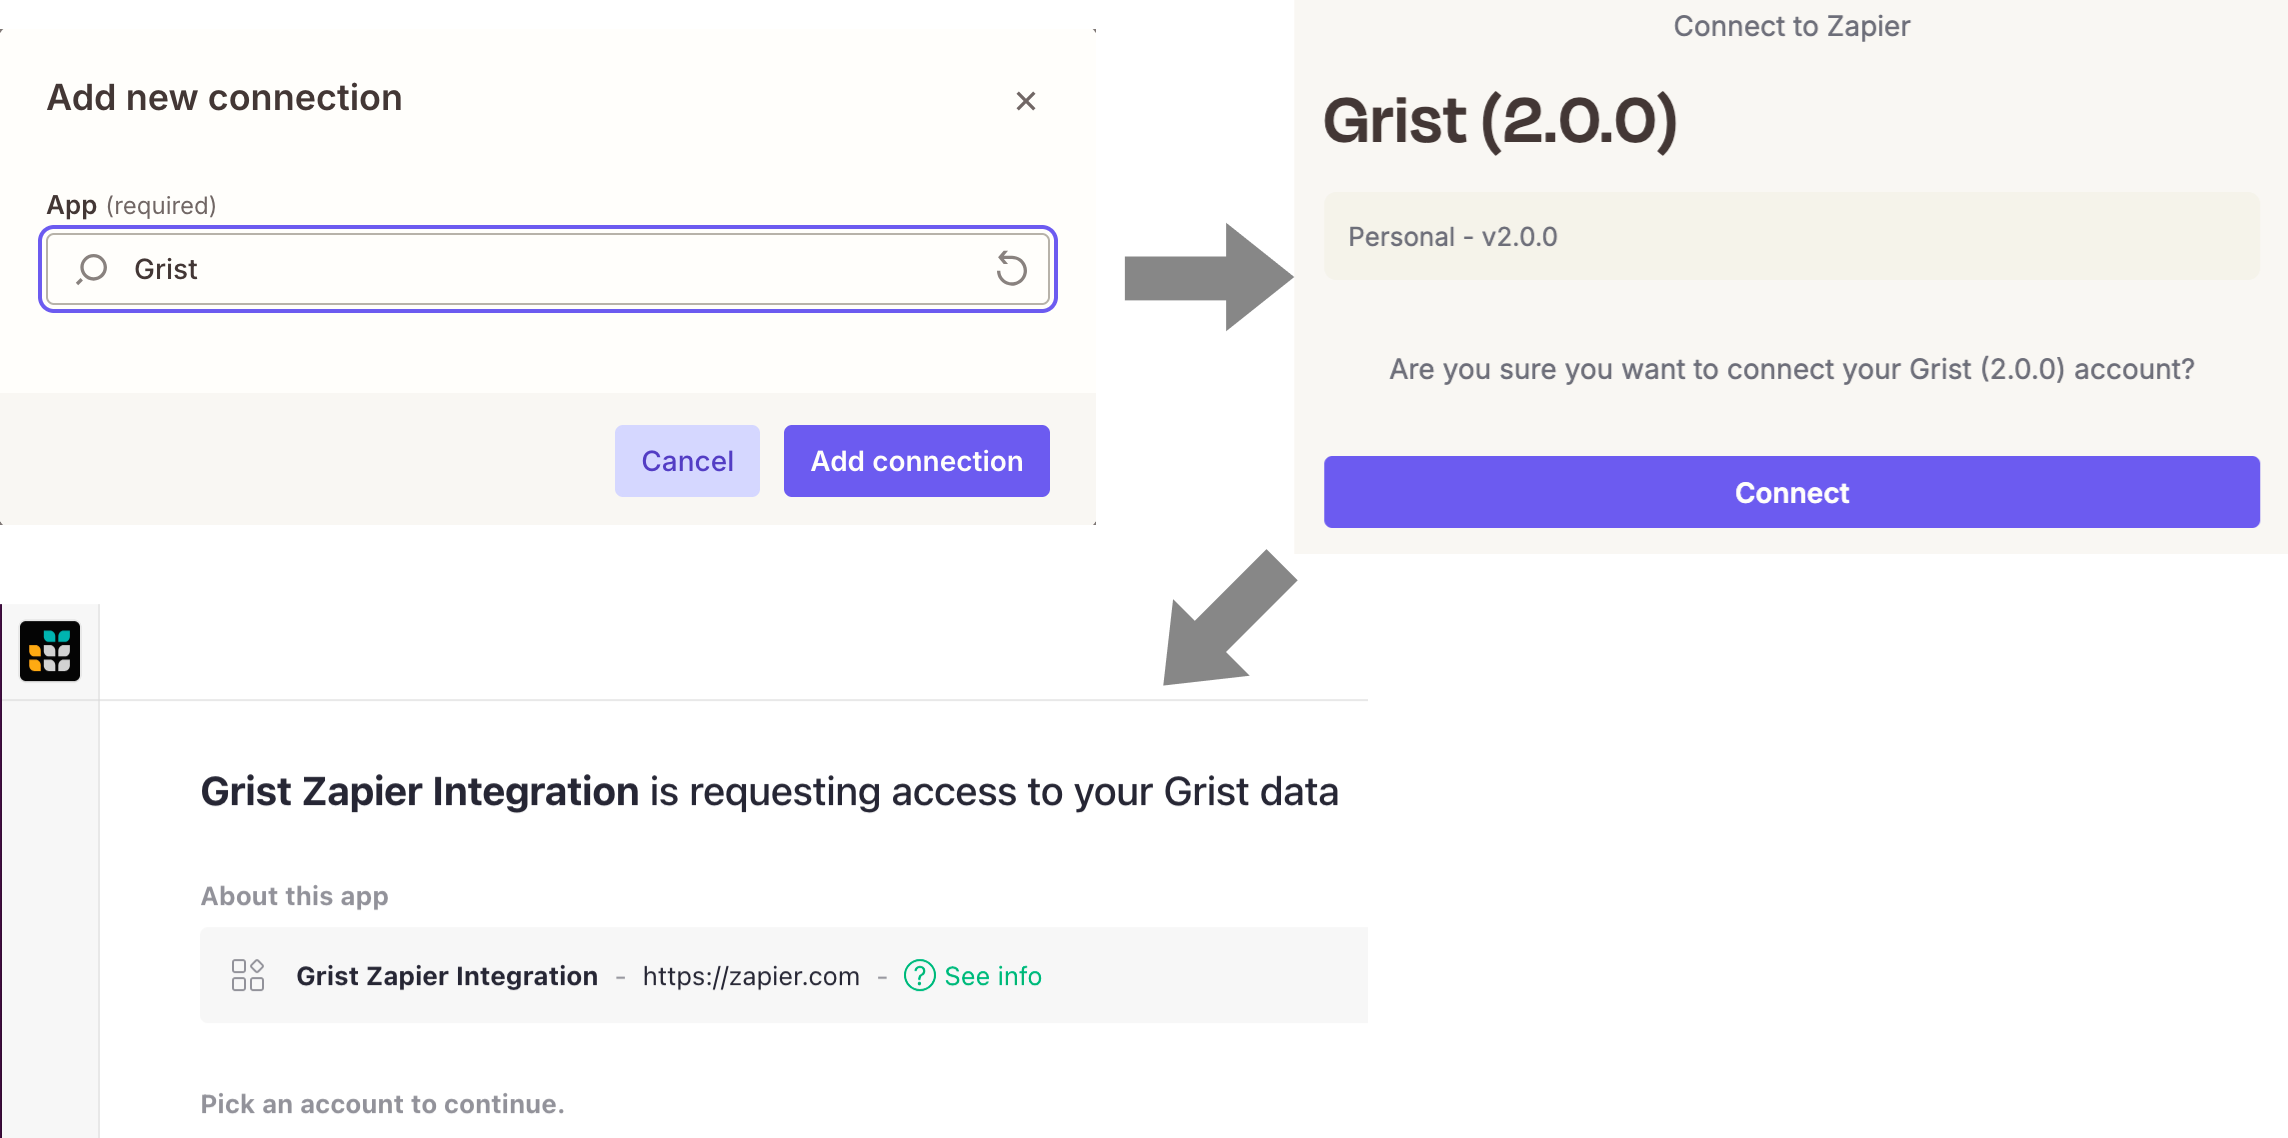
-
If you are connecting Zapier to Grist on a self-hosted installation, and received an invitation from your administrator to use a private Zapier integration, use that link to connect. Otherwise, the simplest way to connect is by using the Grist (API key) integration.
-
If you are the admin of a Grist installation and want to give your users more convenient and secure Zapier connections, then this page is for you.
One-click connect is built on OAuth. Each connection is scoped to the documents the user picks, shows up on their Authorized apps page, and can be revoked at any time. This gives more control and convenience than API keys. To offer it to the users of your Grist instance, you stand up a Zapier integration bound to your own instance, as described below.
Requires the full edition
OAuth apps are part of the full edition of Grist. On Grist Community, use the API key method instead.
If you are an Enterprise customer and would prefer not to run this yourself, please reach out and we can set up and maintain this integration for your instance.
Before you start#
- The full edition of Grist, with OAuth apps enabled.
- A Zapier account to build the integration under.
- Node.js 22+.
- For instant triggers, add
zapier.comto your instance’sALLOWED_WEBHOOK_DOMAINS(comma-separated), or allow it from your egress proxy: see webhook security.
Step 1 — Create your Zapier integration#
The integration code is open source at gristlabs/grist-zapier. Clone it and register a new Zapier app to hold your build:
git clone https://github.com/gristlabs/grist-zapier
cd grist-zapier
npm install
npx zapier-platform login        # first time only
npx zapier-platform register "Grist (Acme)"
register creates the app and writes its id and key to .zapierapprc. Put both in a .env
file so pushes target your app instead of the public one:
# .env
ZAPIER_APP_ID=<id from .zapierapprc>
ZAPIER_APP_KEY=<key from .zapierapprc>
The repo ships at the current published version (in package.json), which your brand-new app
can’t start from. Give it its own starting version:
npm version 1.0.0 --no-git-tag-version
Your integration’s redirect URI, needed in the next step, is built from that key:
https://zapier.com/dashboard/auth/oauth/return/<ZAPIER_APP_KEY>CLIAPI/
Step 2 — Register an OAuth app on your Grist#
On your Grist server, open Account settings → Developer, find the OAuth apps section, and click Register app (see OAuth apps for the full reference). Set:
- Redirect URI — the URL from Step 1.
- Scopes —
doc:read,doc:write,doc:webhooks,user.profile:read, andoffline_access(the last lets connections refresh so they keep working).
Copy the client ID and client secret. The secret is shown only once.
Step 3 — Configure and push#
Push the OAuth flavor. The push deploys the code, then reports that the runtime variables aren’t set yet and prints the command to set them on this version:
npm run push:oauth
npm run zapier-platform:oauth -- env:set 1.0.0 \
  GRIST_HOST=grist.acme.example CLIENT_ID=... CLIENT_SECRET=...
GRIST_HOST is your server’s hostname, without the protocol; 1.0.0 is the version you set in
Step 1. With the variables in place, promote the version from your Zapier dashboard.
Step 4 — Share it with your users#
A privately built integration isn’t listed in Zapier’s public directory. From your integration’s page in Zapier, share it and send users the resulting invite link. From there they add it to a Zap like any other app: Connect, sign in to your Grist, and approve the consent screen — one click, no keys.
Fallback: connect with an API key#
If OAuth apps aren’t available (Grist Community), or you’d rather skip the setup above, or want to use a service account, use the published Grist (API key) integration. It has a hostname field, so it works with any self-hosted instance: point it at your server and paste a Grist API key. This is quicker to set up, but the key carries the user’s full account access and can’t be scoped or revoked individually — see API keys vs connected apps.